2D and 3D Animation movies brings stories to life. Apart from movies, it has become a vital part of video games and advertisements. It transforms ideas into vibrant visuals. Let’s learn the 3D Animation process step by step through the latest webinar. It is from the series of ‘Master Animation with Mikros’.
The entire CGI pipeline and workflow of Animatics to final Animation involves a lot of creativity and technical know-how. This article will take you on a journey through the different stages of 3D animation, from the initial ideas to the final polished product.
Do understand that given below sequence is a generic one. As per project complexity, budget and vision, the preferences / weightage might get changed. These steps are also overlapped accordingly as per the project pipeline.
1. Animatics
Animatics is the inception of an idea of your storyline. It is like a rough draft for your animation, an initial visual representations of the story. It’s a series of storyboard panels that tell the visual story, showing the key scenes, camera angles, and character movements. In a nutshell, it’s a comic strip of the entire movie. Instead of static images, animatics show rough animations. It provides a sense of timing and motion.
During this stage, the Director and storyboard artists work together to plan the flow of the animation and entire storyline. Some of the major pointers that gets resolved this stage are:
- Director’s vision of the story
- What emotions will it evoke
- Characterization and their unique attributes
- Establishment of all characters and supporting elements
This planning stage is crucial for a smooth and engaging final animation. As per the official Pixar report, the pre-production of ‘Finding Nemo’ ran for 2 years.
2. Acting and Blocking
This is where the action begins of the 3d animation process.
Now that the basic story is mapped out, it’s time to make alive the characters. Animators use real-life actors or animals as reference to study their movements and expressions. As per requirement, they also shoot themselves for more reference. All these hard work are required to capture the essence of all the characters. Specially for facial animation, they also use a mirror by the side of their machine to mimic actual actions.
The goal is to focus on the characters’ performances. Animators consider how each character will express emotions and interact with the surroundings. If budget permits, motion capture technology can also be used to get the characters’ movements look natural and believable.
Blocking refers to the placement of the characters and props / environment within the scene. It’s like arranging the actors on a stage before a play. This stage helps ensure the characters are positioned correctly and their movements are clear and believable. Various camera angles and moving camera movements are decided by this time. It helps to achieve the required cinematic look.
3. Modeling, Texturing and Shading
Once the acting and blocking are finalized, it’s time to create the 3D models of the characters and environments. 3D modeling refers to the process of creative CGI versions of storyboards elements. Size chart is prepared and followed rigorously to maintain the right proportions throughout the project. It goes through a lot of back and forth process. Once the final look and feel of these models are freeze, the process of texturing starts.
Texturing gives color details on the surface of 3D objects. Earlier it was completely Photoshop based process, where the textures were created in it and after going through the process of UV unwrapping, it were applied to 3D models. Now, with the advancements of 3D texturing softwares (Mari, Substance, ZBrush to name a few), the earlier tedious process has take a back step. This process breathe life into the 3D models by adding details like skin texture, clothing materials, and even scratches or wrinkles.
To make the final output much more realistic, now texturing and shading goes together. Shading refers to the scripts/coding. So, rather than merely rendering a texturing via lighting, it goes through the mathematical algorithm. So, each pixel’s color is rendered as per lighting conditions and animation movement of CGI model. Such scientific approach gives a subtle depth to the final animation render. Overall, Texturing and shading helps create a realistic and visually appealing look for the characters and environment.
4. Rigging and 3D Animation
Rigging is the next step, where a digital skeleton is created for all the 3D models. It consists of a series of interconnected bones, known as joints. This skeleton allows animators to control the movement of the character’s body parts and achieve believable animations. It is one of the most complex and technical part of the entire 3D animation process. The rigger has to take an account of all the possible movements and interactions. He/she also need to make sure that the texture don’t get deformed during any animation movement.
The rig provides the necessary control points for animators to pose the character, set keyframes, and define the movement. All the joints are controlled by controller. These are also known as handles for manipulating the rig. After this, skinning process comes, which attach the 3D model’s mesh to the rig. Skinning ensures that when the bones move, the mesh deforms correctly. The goal is to create natural and realistic movements.
The final and most toughest part is the 3D animation itself. It is the process of creating movement by manipulating the rigged model. This involves setting keyframes, which are specific points in time. It defines the position, rotation, or scale of the character movement. The software then interpolates the frames in between, to generate realistic animation. Timing and spacing are the key elements here to take care of.
The animator has to convey Director’s vision properly and make an emotional bond with an audience. Apart from body animation, facial expressions and lip sync are the major things to focus on. Both of these convey the characters’ emotions and reaction.
At the polishing stage of Animation, the secondary animation is taken care of to enhance realism. As name suggests, it includes movements of the secondary objects, like hair and clothes. This stage requires a keen eye for detail and a lot of patience, as even the smallest adjustments can make a significant difference in the final animation output.
5. Lighting and Rendering
Just like in real-life filmmaking, lighting plays a crucial role in creating the mood / look and feel of the animation. The lighting artist place and adjust virtual lights to achieve the desired look and mood. It must go accordingly the screenplay and mood of the scene. It impacts and visual quality and realism of your project.
Lights can cast shadows, adding depth and realism to the scene. Shadows can be hard or soft, depending on the light source and settings. It directs the viewer’s eye to important elements in the scene.
As per the storyboard, it mimics the real-world lighting, making the scene more believable.
Rendering is the step, where the 3D rendering softwares takes all the elements – models, animations, textures, lighting – and combines them to create the final animation sequence in 2D images or frames. For complex simulations and heavy environments, render farms may be used. Specialized softwares like Arnold, V-Ray, Cycles can also be used. With the help of ray tracing and global illumination, we can achieved the required quality.
This can be a time-consuming process, so you need to optimize your post production pipeline.
6. Compositing
Compositing is the last module of the entire pipeline. It gives the render output in the movie sequence format. Multi pass compositing of all 3D render passes are finalized here to get the final animation.
Compositing allows artists to manipulate and adjust individual layers or nodes separately. It helps to ensure that each element fits perfectly within the final composition. Each layer can contain different components, such as 3D renders, background images, foreground objects, and special effects. Masking can be done to add custom made effects. Layers are blended together using blending modes and adjusted for color, brightness, and contrast to ensure a cohesive look. This step is crucial for creating a seamless integration of all elements.
Required LUT’s (Look Up Table) are also used to maintain color consistency across various sequences. It achieves the final look and appeal of the movie or a project. By mastering the art of compositing, artists can ensure seamless integration of all layers.
It is followed by the required editing with adding sound effects, music, and dialogues. This final process plays a vital role in immersing the audience in the story and enhancing the emotional impact. Each stage contributes to the overall quality and success of the animation.
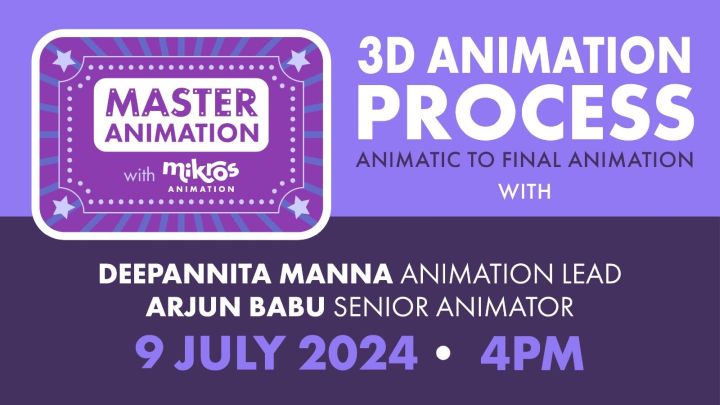
Webinar details of 3D Animation Process: Animatics to final Animation
This is the fourth edition of the masterclass series of animation. The mentors will teach you the entire 3D animation process in detail, with the required examples. They will share the industry tips and tricks for better production pipeline.
The details are as follows.
Date: 9th July, Tuesday, 2024
Time: 4 pm
Venue: Online
Fees: Free
Trainers (from Mikros Animation Studio):
- Deepannita Manna (Animation Lead)
- Arjun Babu (Senior Animator)
Webinar registration link: Please click here to make get registered for the 3D Animation webinar